An AI Image Editor with Reference Image support lets you show the editor what you mean instead of describing every visual detail from scratch. Upload the image you want to change, add a reference for the style, object, outfit, character, or composition you want, then state clearly what should change and what should stay untouched.
The reference is a visual instruction. Your prompt explains how the editor should use it.
This combination is useful when words such as “cinematic,” “vintage,” or “fantasy armor” are too broad to produce a predictable result.
How to Edit an Image with a Reference Image on XPT
1. Open XPT AI Image Editor
Go to XPT and start a new image-editing task. The editor uses a prompt-first workflow, so you can explain the result you want in normal language instead of building the edit manually with layers and brushes.
2. Upload the Image You Want to Edit
Upload the source image: the photo, character, illustration, or AI-generated visual you want XPT to change.
Use the clearest version available. Make sure the subject and the area you want to edit are visible. Keep an untouched copy of the original so you can compare the result or restart if a later edit drifts too far.
3. Add Your Reference Image
Upload the image that shows the desired outfit, object, style, lighting, composition, or other visual direction. Choose a reference that communicates one main idea clearly.
If you add more than one reference, give each image a separate role. For example, one image can define the outfit while another guides the lighting. Avoid several references that compete to define the same feature.
4. Tell XPT How to Use Each Image
In the prompt, identify which image is the source and what XPT should borrow from the reference:
Image 1 is the source portrait. Image 2 is the outfit reference. Replace only the outfit in Image 1 with the black jacket and trousers from Image 2. Keep the face, hair, expression, pose, body proportions, background, and lighting from Image 1 unchanged. Do not copy the person or setting from Image 2.
A useful prompt includes:
- The image XPT should edit
- The exact quality to take from the reference
- The object or area that should change
- The details that must stay unchanged
- Any elements XPT should ignore or avoid adding
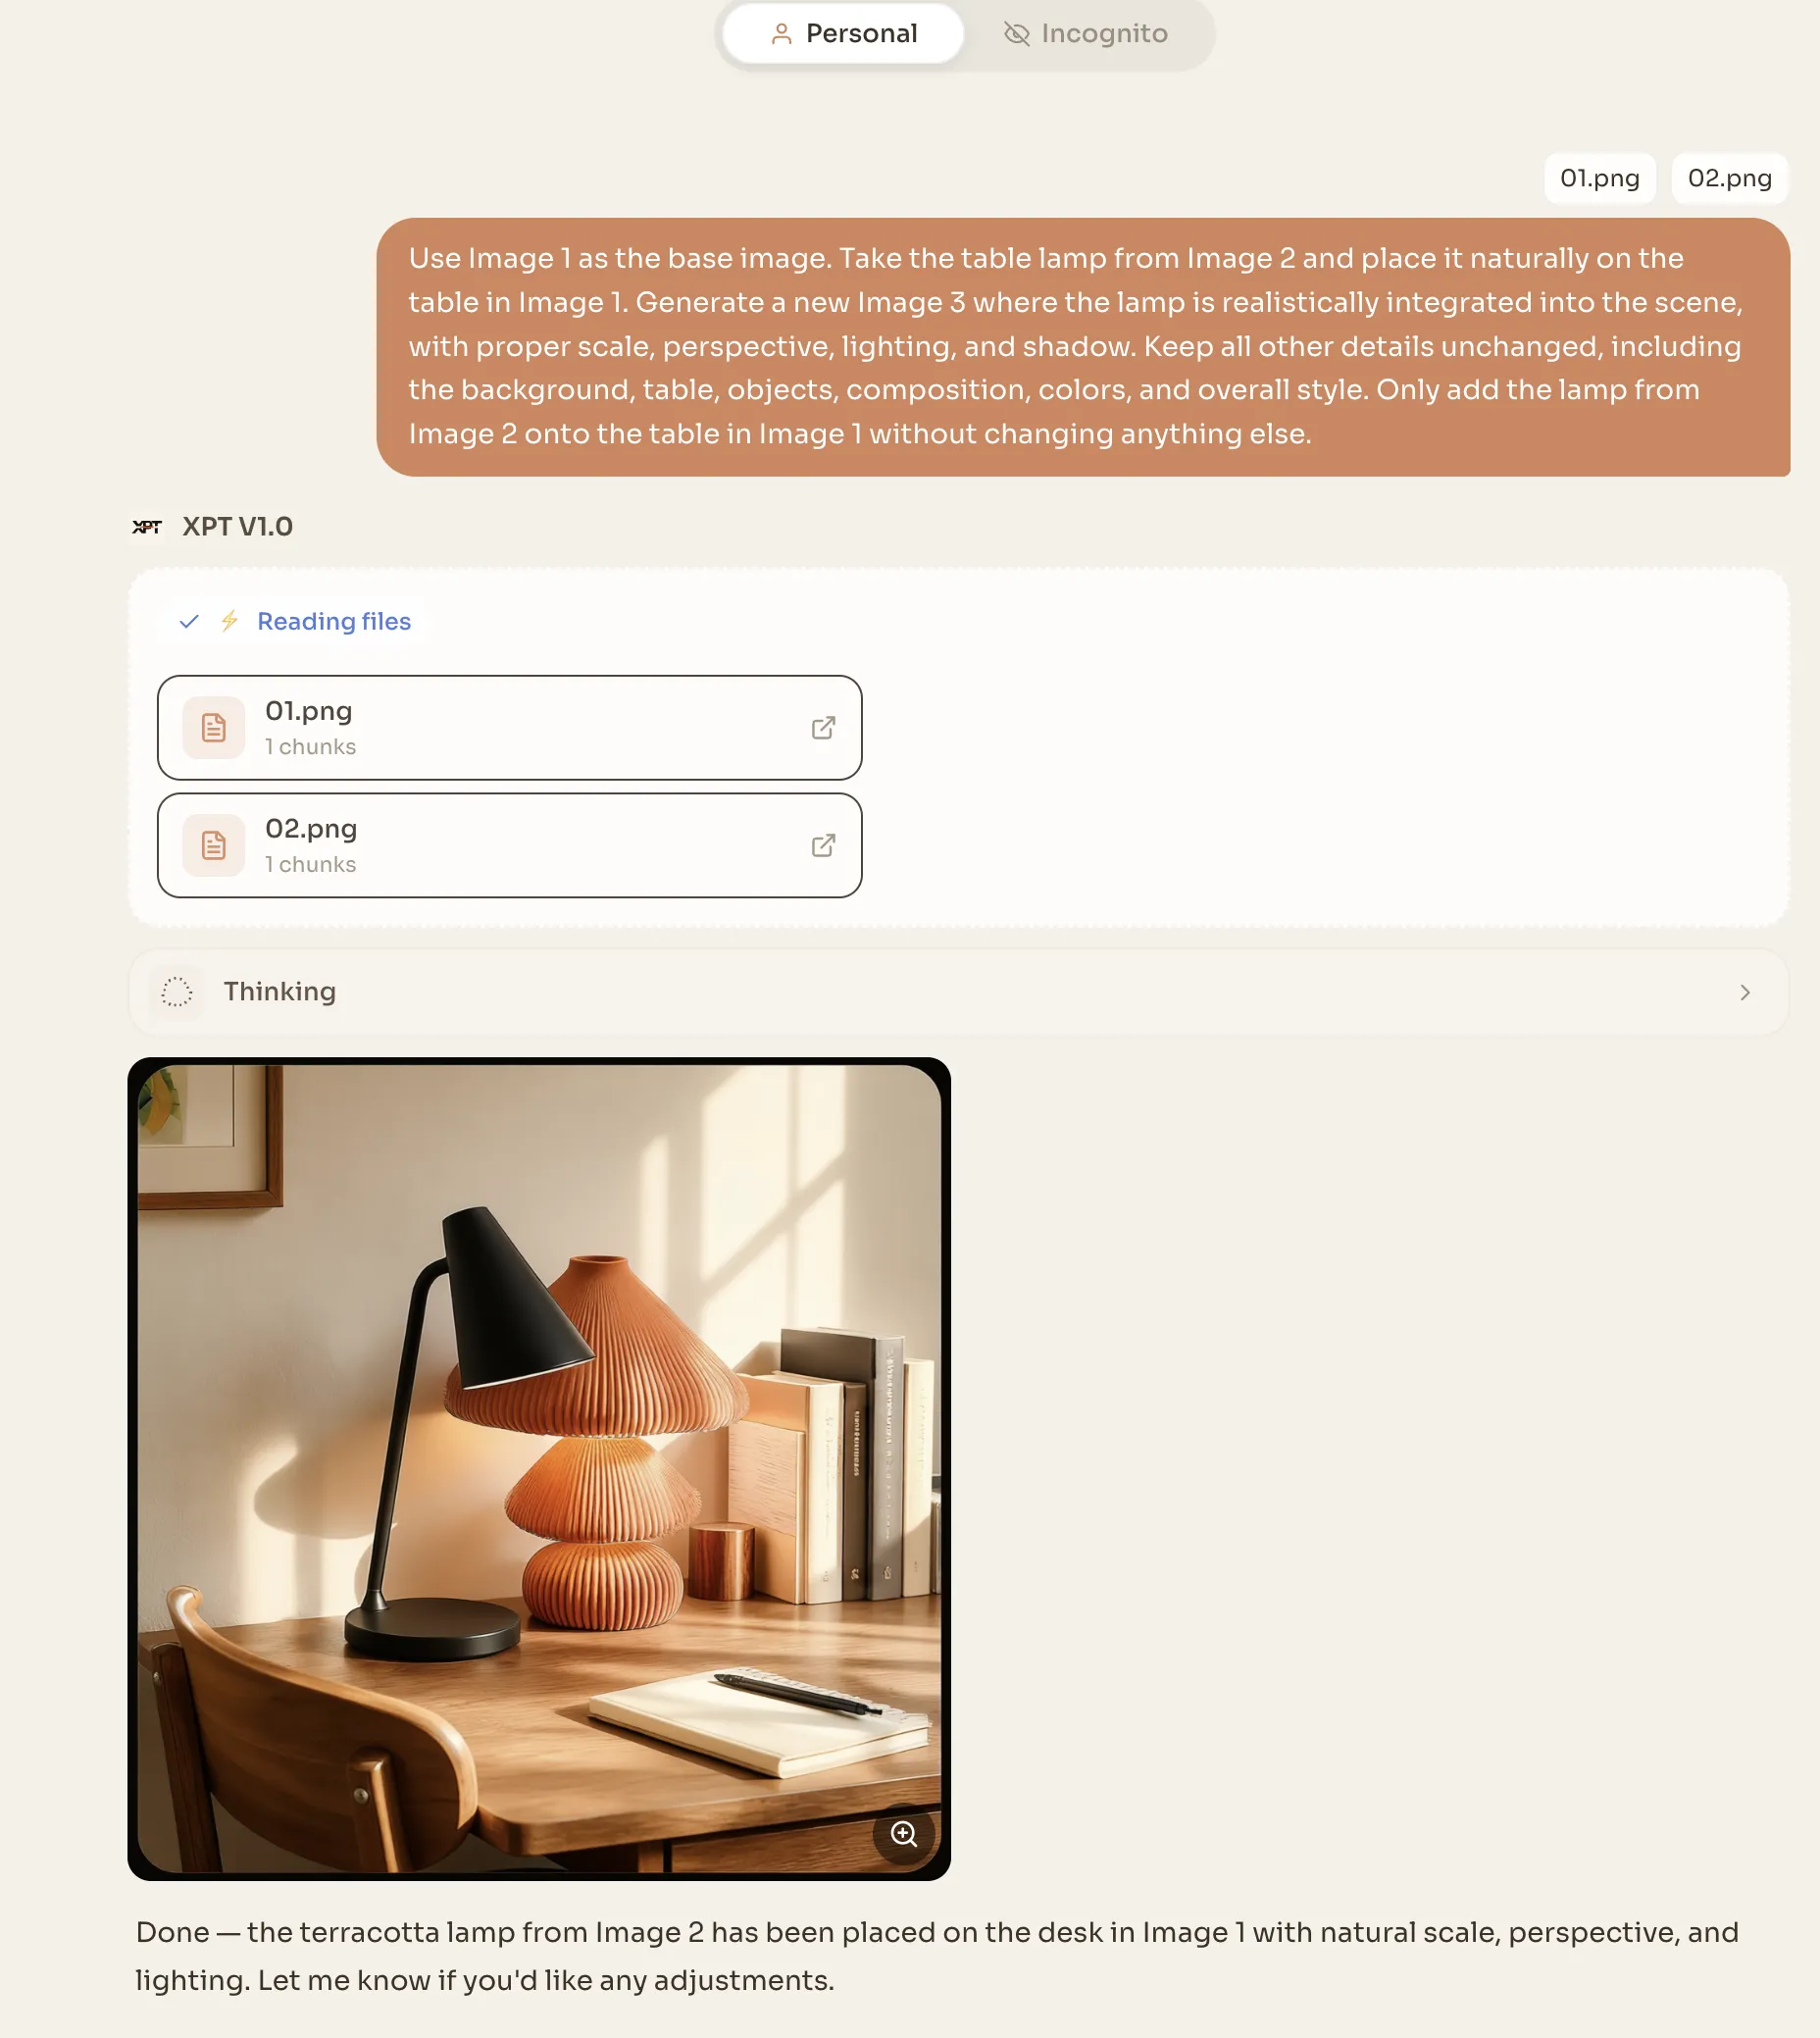
Submit the prompt and let XPT create the edited version. Compare the result with the source rather than judging it on appearance alone.
For a portrait, check the face, hair, expression, pose, hands, body proportions, crop, and lighting. For a product image, inspect the logo, label, shape, colors, small components, and readable text.
6. Refine One Detail at a Time
If the first result needs adjustment, give XPT one focused follow-up instruction:
Keep the new outfit, but restore the original facial features, hairstyle, pose, and background. Make no other changes.
Avoid changing the outfit, background, pose, expression, lighting, and camera angle in the same revision. Approve one stage before moving to the next:
- Change the main object or outfit.
- Check the preserved details.
- Update the background if needed.
- Adjust lighting or color.
- Add small finishing details.
When a revision moves in the wrong direction, return to the last good result rather than continuing from the flawed version.
Source Image or Reference Image: Know the Difference
Before writing a prompt, decide what each uploaded image is doing.
| Image role | What it means | Example |
|---|---|---|
| Source image | The image you want to edit | A portrait whose outfit needs changing |
| Subject reference | Shows the person, character, product, or object to carry into the edit | A photo of the jacket you want to add |
| Style reference | Guides color, texture, lighting, or artistic treatment | A film still with muted green shadows |
| Composition reference | Guides camera angle, framing, pose, or layout | A poster with the desired subject placement |
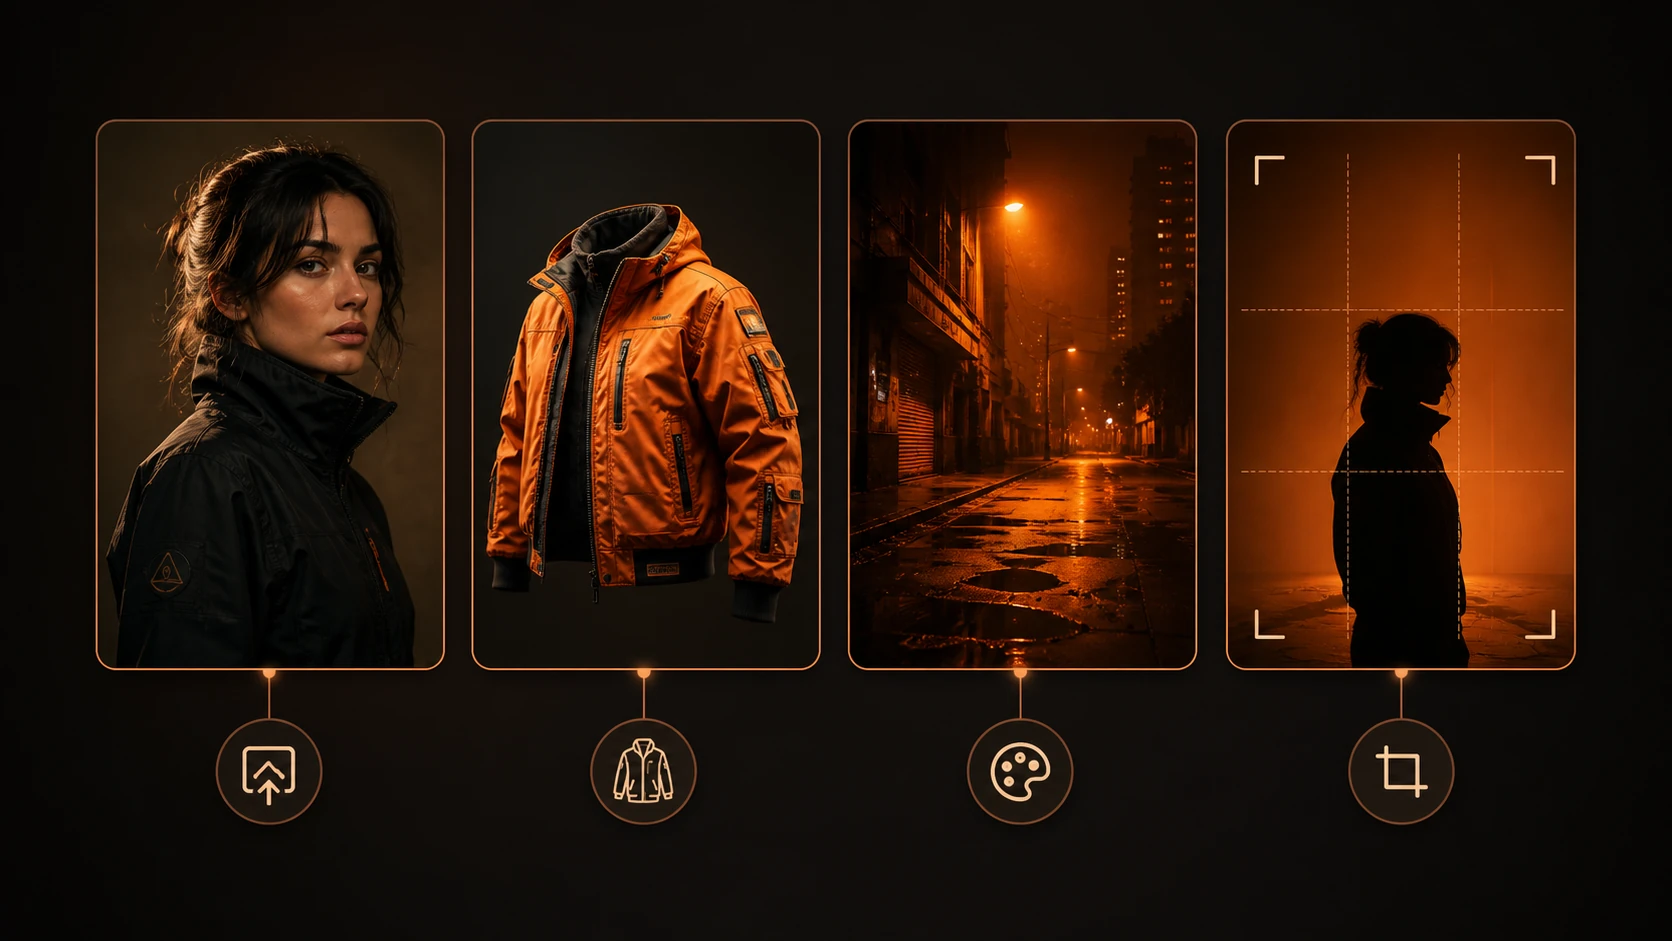
Confusing these roles is one of the fastest ways to get an unwanted result. If you upload two images without explaining them, the editor may blend their subjects, copy the wrong background, or treat the reference as the image being edited.
Label them in the prompt:
Image 1 is the source portrait. Image 2 is an outfit reference. Replace only the outfit in Image 1 with the jacket and trousers from Image 2. Keep the face, hair, pose, body proportions, background, and lighting from Image 1 unchanged.
When using multiple uploads, a small, clearly assigned set is easier to control than a pile of loosely related references. OpenAI's image prompting guidance likewise recommends explaining the relationship between uploaded images and stating what must remain fixed.
Reference Image Prompt Examples
Change an Outfit but Keep the Person
Image 1 is the source portrait. Image 2 is the clothing reference. Replace the outfit in Image 1 with the black tailored suit from Image 2, including its lapel shape and matte fabric. Keep the same person, face, hair, expression, pose, hands, body proportions, background, crop, and lighting. Do not copy the model or location from Image 2.
Transfer a Visual Style
Edit Image 1. Use Image 2 only for its hand-painted gouache texture, limited teal-and-rust palette, and soft edge treatment. Preserve the subject, composition, perspective, and objects from Image 1. Do not add any objects or text from Image 2.
Replace an Object
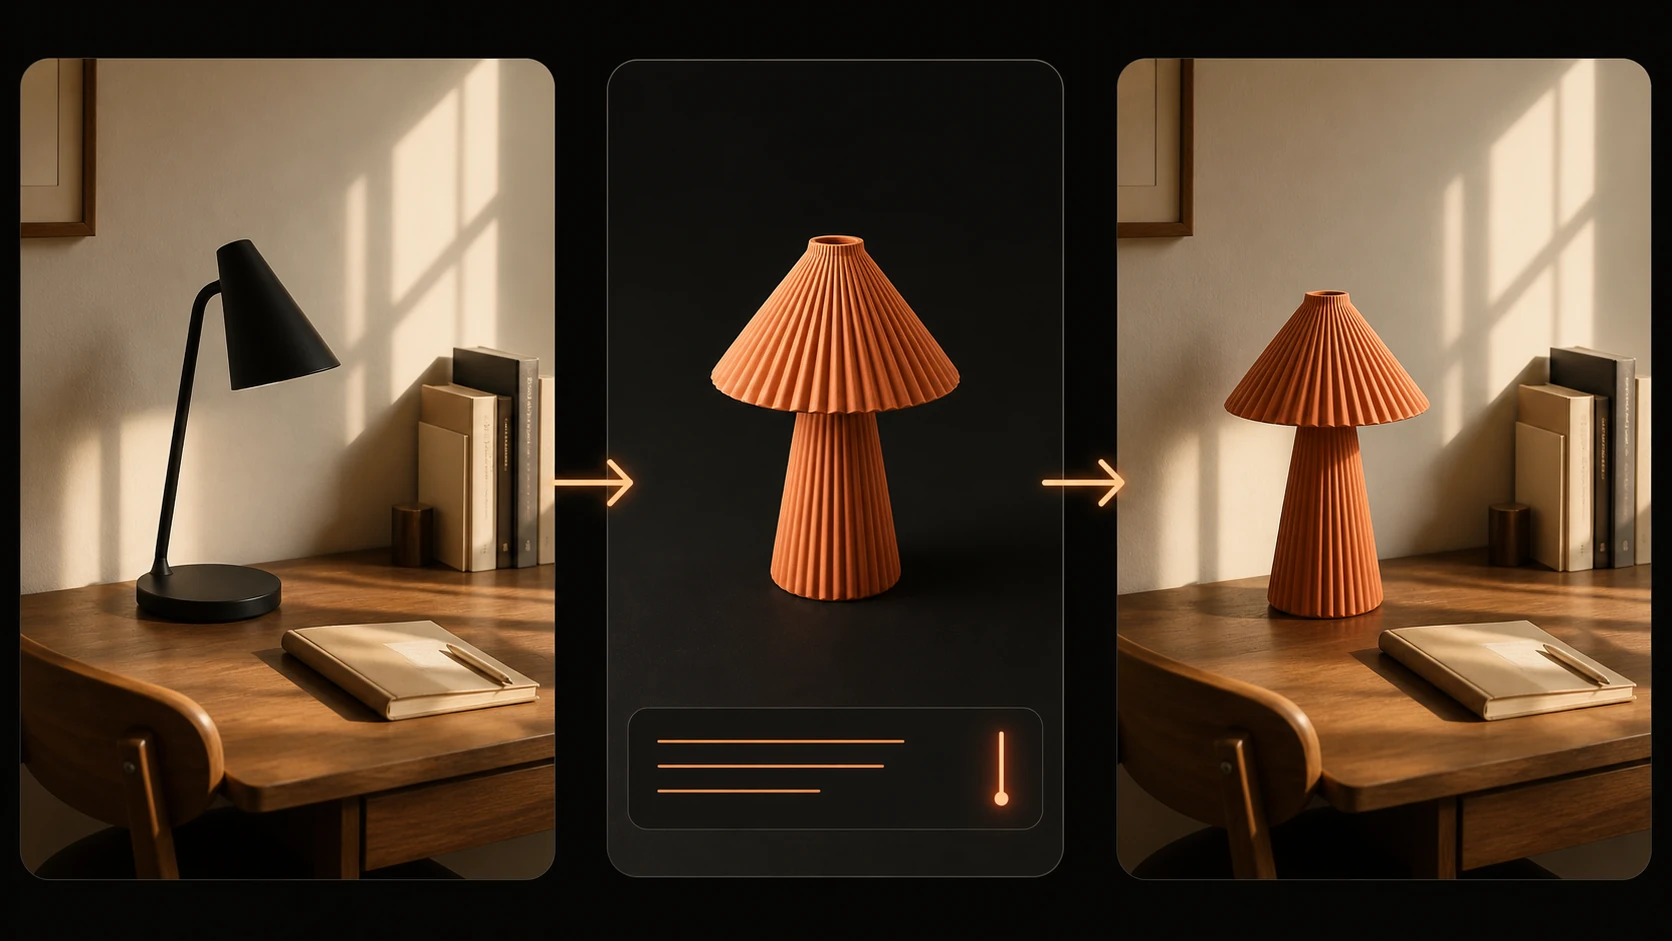
Image 1 is the image to edit. Image 2 shows the lamp design to use. Replace only the lamp on the desk in Image 1 with the lamp from Image 2. Match the perspective, scale, contact shadow, and warm room lighting. Keep the desk, books, wall, camera angle, and all other objects unchanged.
Use a Composition Reference
Create a new version of Image 1 using Image 2 only as a composition reference. Place the main character in the lower center with a large open sky above, matching the camera distance and negative space of Image 2. Keep the character design, outfit, color palette, and environment from Image 1.
Combine Two References Without Mixing Their Roles
Image 1 is the source room. Image 2 is a chair reference. Image 3 is a lighting reference. Replace the chair in Image 1 with the chair from Image 2. Apply only the soft morning light direction and gentle contrast from Image 3. Keep the architecture, room layout, camera angle, and all other furniture from Image 1.
Why Reference Image Edits Go Wrong
The Subject Changes Too Much
Likely cause: the prompt emphasizes the new style but does not name the identity details to preserve.
Try: move the lock instruction closer to the beginning and reduce the edit to one target.
Keep the same person and facial structure. Change only the jacket.
No prompt can guarantee perfect identity preservation. For high-stakes portraits or approved character designs, expect to compare versions and finish exact details manually.
The Editor Copies Unwanted Details from the Reference
Likely cause: the reference role is too broad.
Try: say both what to use and what to ignore.
Use Image 2 only for the jacket design. Ignore its person, pose, background, lighting, jewelry, and color grading.
The New Object Looks Pasted On
Likely cause: the requested object does not match the source perspective or light.
Try: add integration instructions.
Match the source camera angle, scale, focus, contact shadow, reflected light, and grain.
Every Revision Changes Something Else
Likely cause: the prompt keeps reopening the entire image for interpretation.
Try: return to the last good version and make a smaller edit. Repeat the exact lock list instead of saying “keep it similar.”
More References Make the Result Less Accurate
Likely cause: two or more images compete for the same role.
Try: remove redundant references or assign a single attribute to each one. If two images both define style, decide which is primary.