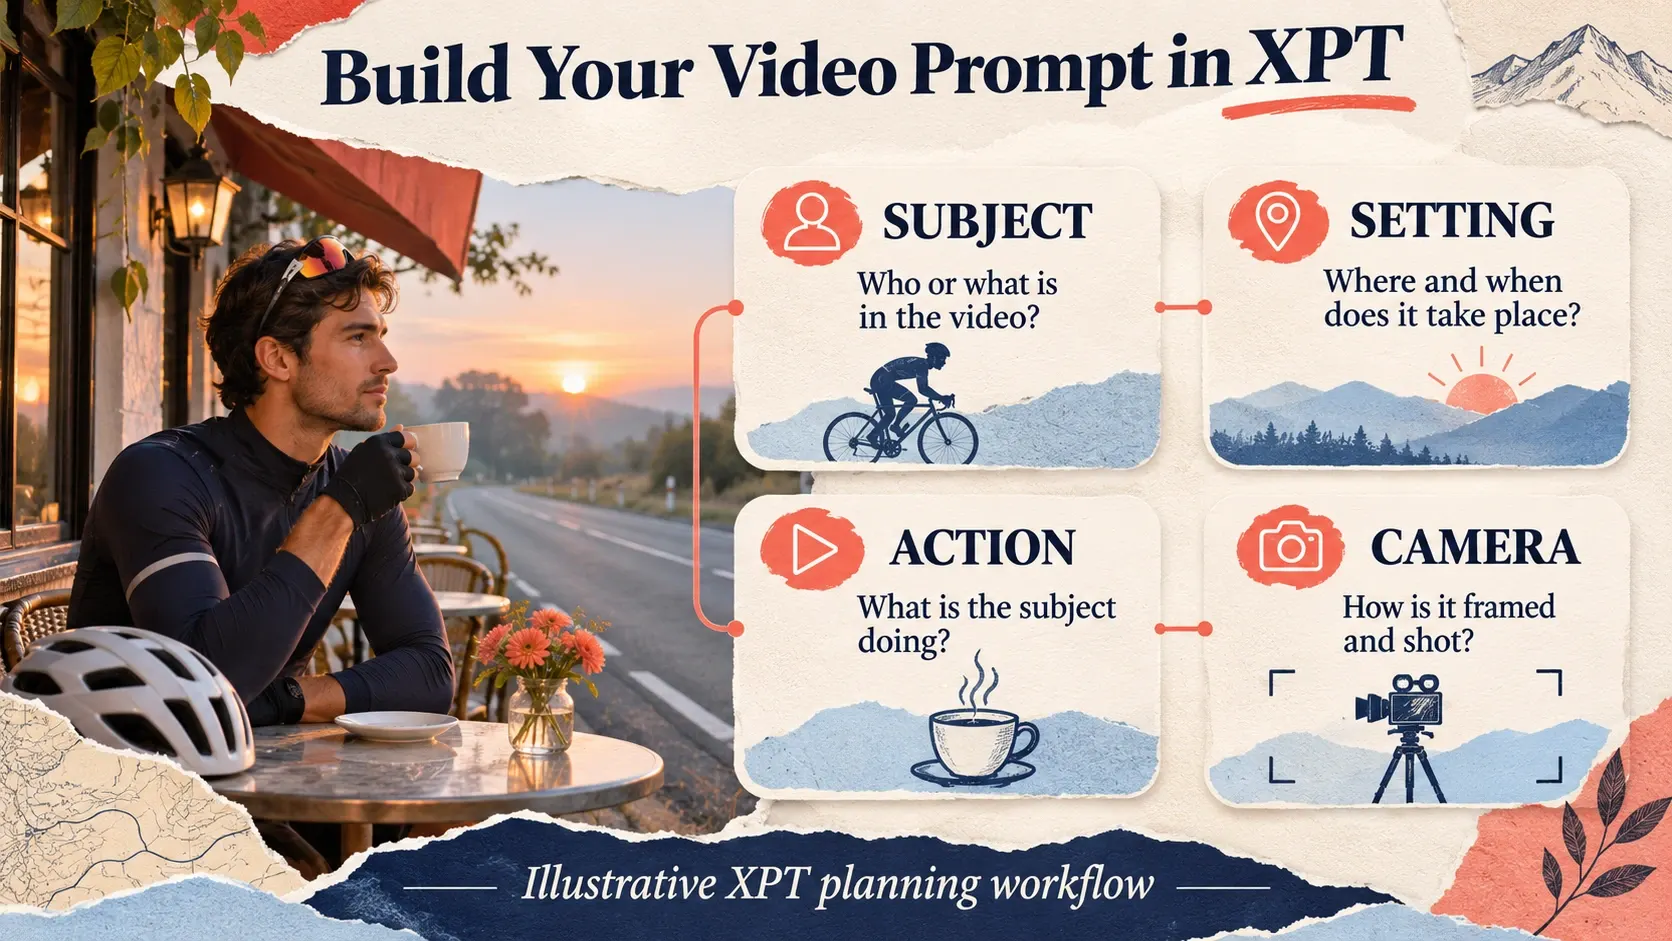
Generating a video from text starts with a shot you can describe clearly: a subject, a setting, an action, and a camera decision. A story premise such as a city wakes up can inspire several scenes, but it does not yet tell a video model what should happen in one continuous clip.
Start with the smallest useful scene. Once that works, you can plan another shot and assemble a sequence. The broader lesson is to treat generation as shot creation rather than a finished film appearing from one paragraph.
XPT can help you turn an idea into that production brief. Rendering then depends on a compatible video tool available in your session or chosen workflow.
Build the Video Prompt in XPT
1. Describe the job the shot must do
Start with the audience and intended placement. Is this an opening image, an explanatory insert, a product mood study, or a transition between scenes? The answer helps you choose what deserves attention.
Use the AI Text to Video Generator brief structure to give XPT the subject, location, visual treatment, and desired action. Include useful constraints, such as keeping a sign out of frame if exact lettering is unnecessary.
Avoid asking for a complete adventure in a single shot. If the idea includes a departure, a journey, and an arrival, ask XPT to separate it into three beats first. Choose one to develop before generating anything.
2. Ask for one continuous shot
Turn abstract mood into visible choices. Lonely is a feeling; a person waiting beside an empty road gives the camera something to show. Dramatic is broad; a low viewpoint and a deliberate light direction are decisions you can inspect.
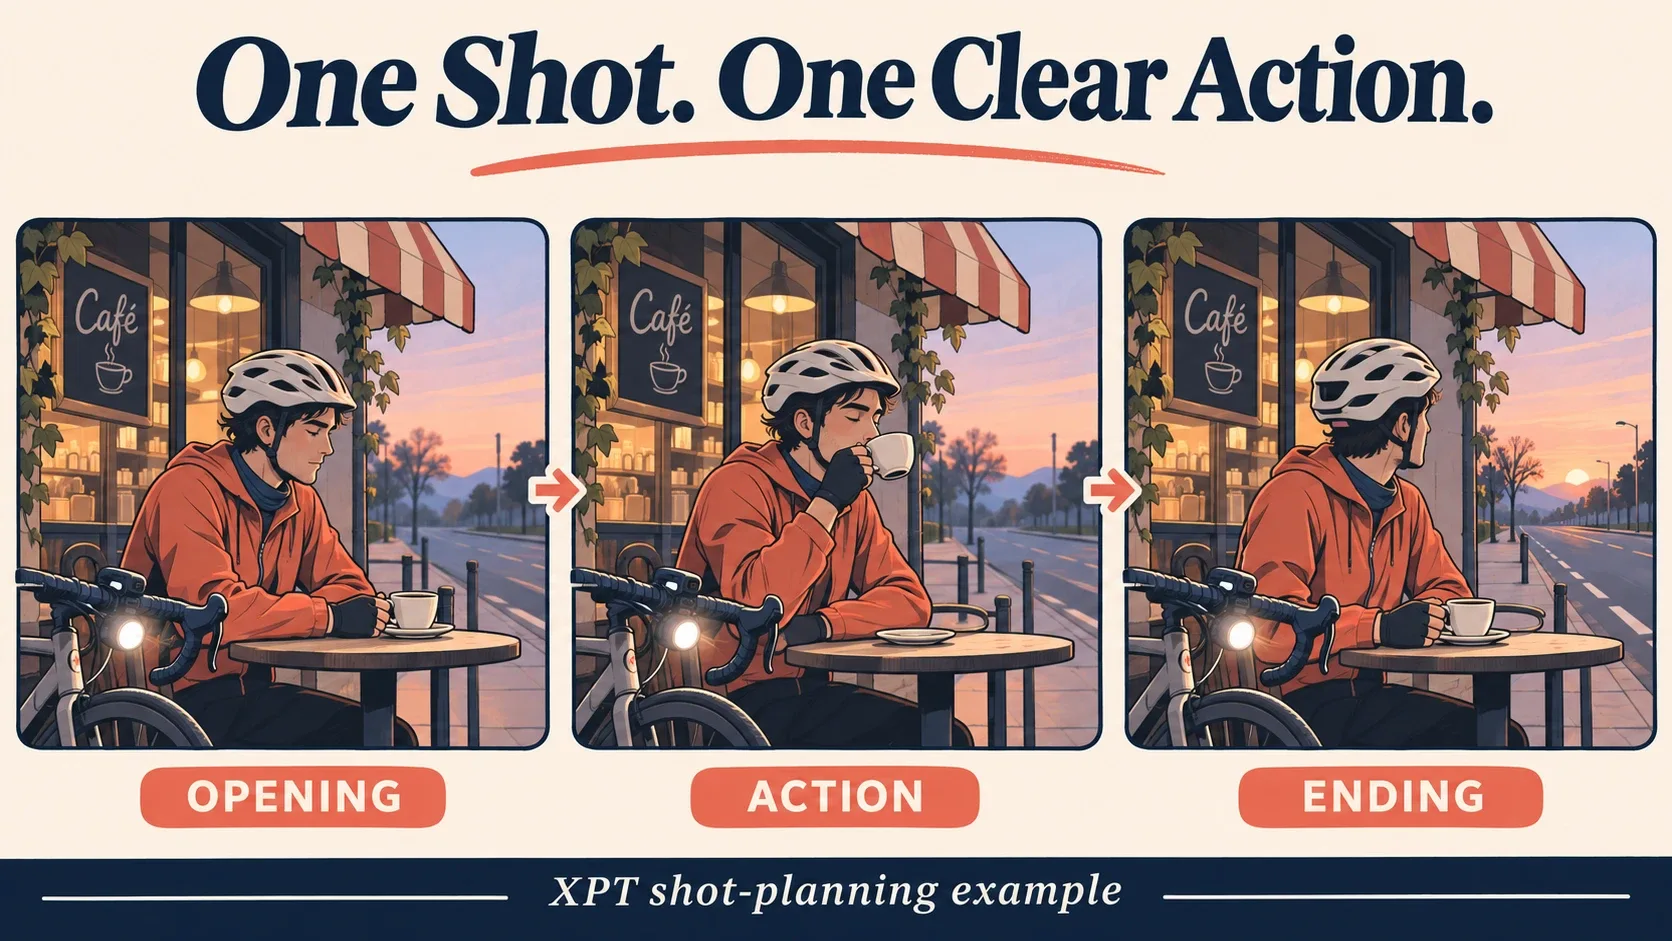
“Write one continuous video prompt for a quiet opening shot. A cyclist stands beside a roadside café at dawn, lifts a paper cup, and looks toward the empty road. Use a medium-wide composition and a restrained forward camera push. Keep the atmosphere calm. Do not add captions or scene cuts.”
This prompt has a beginning, a visible action, and a camera choice. It does not require the renderer to invent a montage or a complicated chain of events.
3. Resolve contradictory instructions
Ask XPT to identify conflicts before rendering. A locked camera cannot simultaneously orbit the subject. A close-up may not show a full-body action. A request to keep a product label exact may be poorly matched to a fast rotation.
Choose which requirement matters most. Keep alternative versions separate: one static shot, one slow push, one wider angle. If you combine all three in the first request, the resulting clip will be harder to evaluate.
4. Generate in the available video workflow
Check whether your XPT session offers a compatible rendering option. Public XPT material reviewed for this guide does not establish a specific video model, clip-length control, or export entitlement. If the session does not render video, copy the approved prompt into a text-to-video tool you can access.
Confirm the model, crop, duration, cost, and output settings shown there. Text-to-video and image-to-video may have different controls even inside one service. Keep exact interface instructions tied to the tool you are actually using.
5. Bring back the visible mismatch
Watch the full clip, then compare it with the brief. Did the subject perform the action? Did the camera move as intended? Did objects change or disappear? Inspect the saved output at the destination size.
A useful follow-up says what failed: the cyclist started walking, the camera swung sideways, or the cup changed shape. Ask XPT to simplify that part of the prompt while keeping the approved choices. Return to the original brief if repeated revisions lose the scene’s purpose.
A Reusable Shot Template
“A [shot size] view of [subject] in [setting]. The subject [one visible action]. The camera [one movement or remains fixed]. Use [lighting and visual treatment]. Maintain [important continuity details]. One continuous shot.”
Replace the brackets with information that changes the picture. Avoid repeating quality words that do not tell the renderer what to show. For more ways to separate a requested change from protected details, consult the image editing prompt examples.
Do not treat the template as a required syntax. Some models respond better to concise natural prose than to long lists. Adapt it to the selected tool’s official guidance and compare the result rather than assuming universal prompt behavior.
When a Reference Image Is the Better Start
Text leaves many appearance choices open. If you have already approved a character, product, or composition, use a still as the visual anchor. The AI Image Editor can help prepare that source before you write the motion.
A reference is still not a guarantee of exact preservation. Check faces, clothing, logos, and geometry across the resulting clip. If an element must remain exact, consider keeping it in a separate editing layer or filming it conventionally.
Use text-only generation when exploration is the goal. Use an approved visual when continuity is a central requirement. Choosing between those routes is often more useful than making the same text prompt longer.
Build the Edit After the Shots
Keep titles, captions, voiceover, music, and shot order as separate decisions. A renderer may provide some of them, but availability varies and exact wording still needs proofing. Do not ask a generated background sign to carry essential business information.
Save each shot’s source prompt and note the approved action, camera, and visual anchors. When several clips share a character or location, compare them together before treating them as a sequence.
A useful text-to-video workflow turns a vague idea into visible decisions, then tests those decisions in the actual output. Write one clear shot, learn from its result, and build the next shot with the same care.